Aquarium Build + DIY extras

tusken raider

New member
Joined
Feb 15, 2012
Messages
146
Reaction score
2
Points
0
Location
West Aus
Country
Australia
Only been in the hobby of keeping aquatic creatures for a few months and decided to build a new set up for my community fish tank (i know not caudates and not as exciting as some of the other builds) but here it goes.

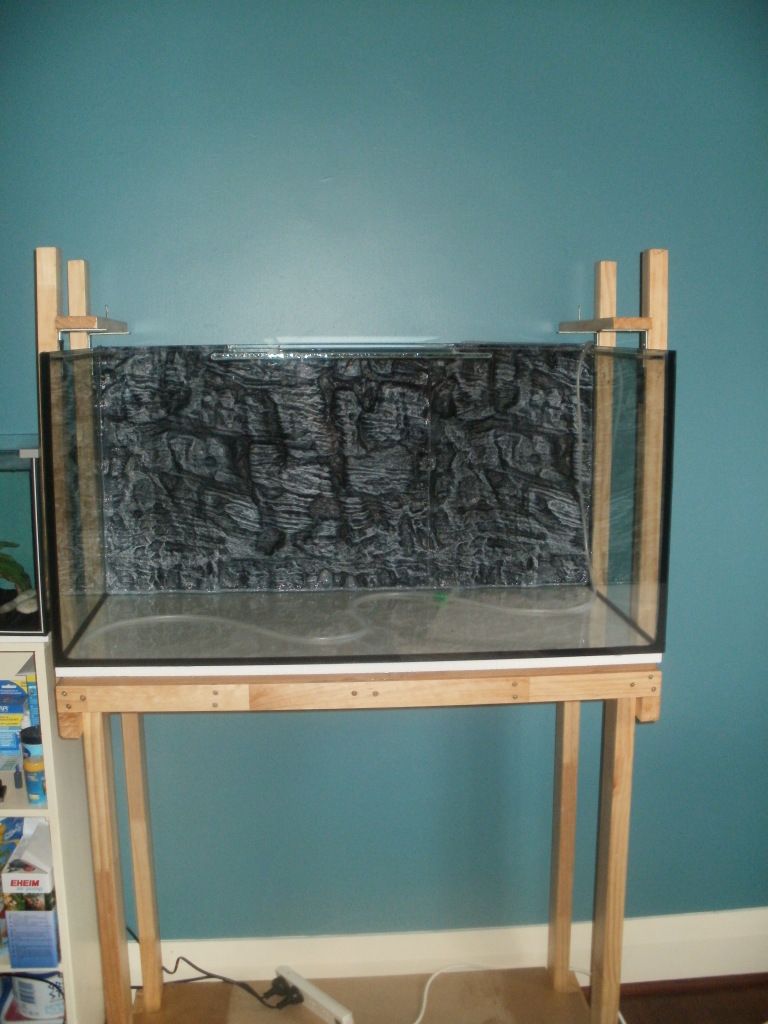
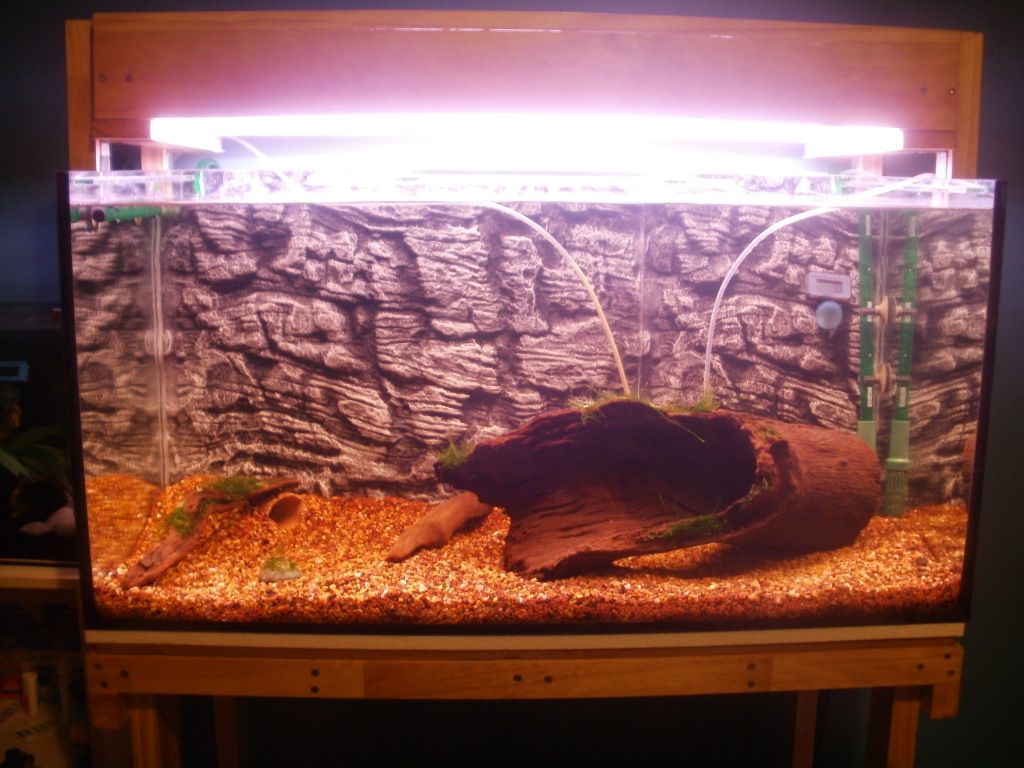
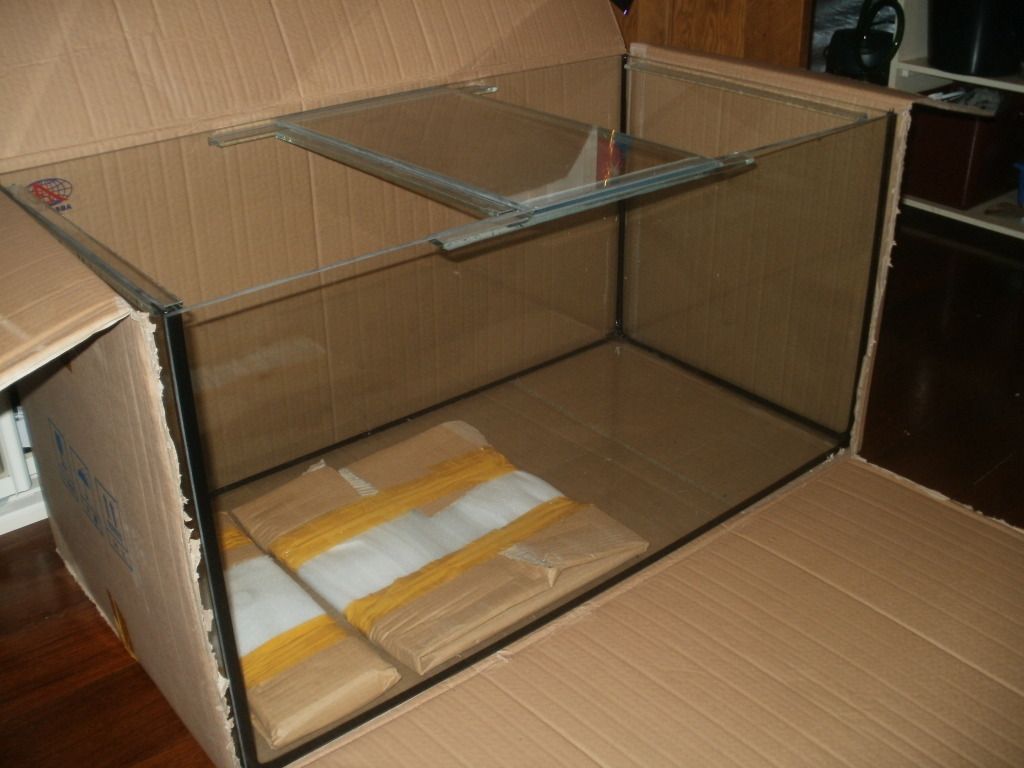
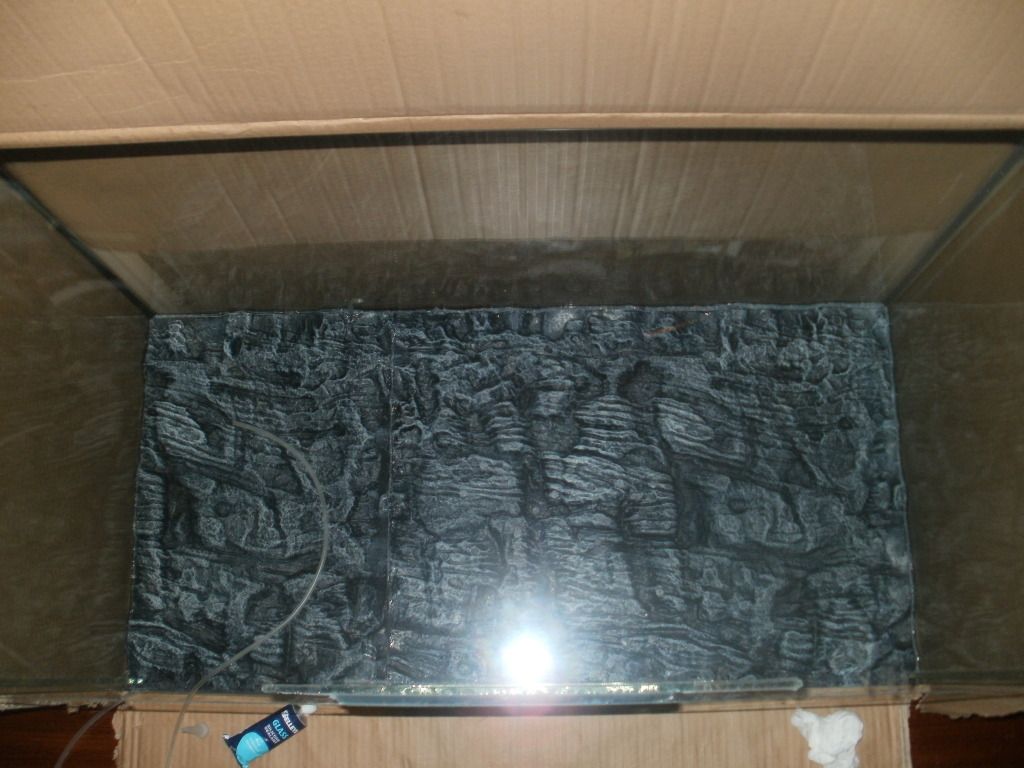
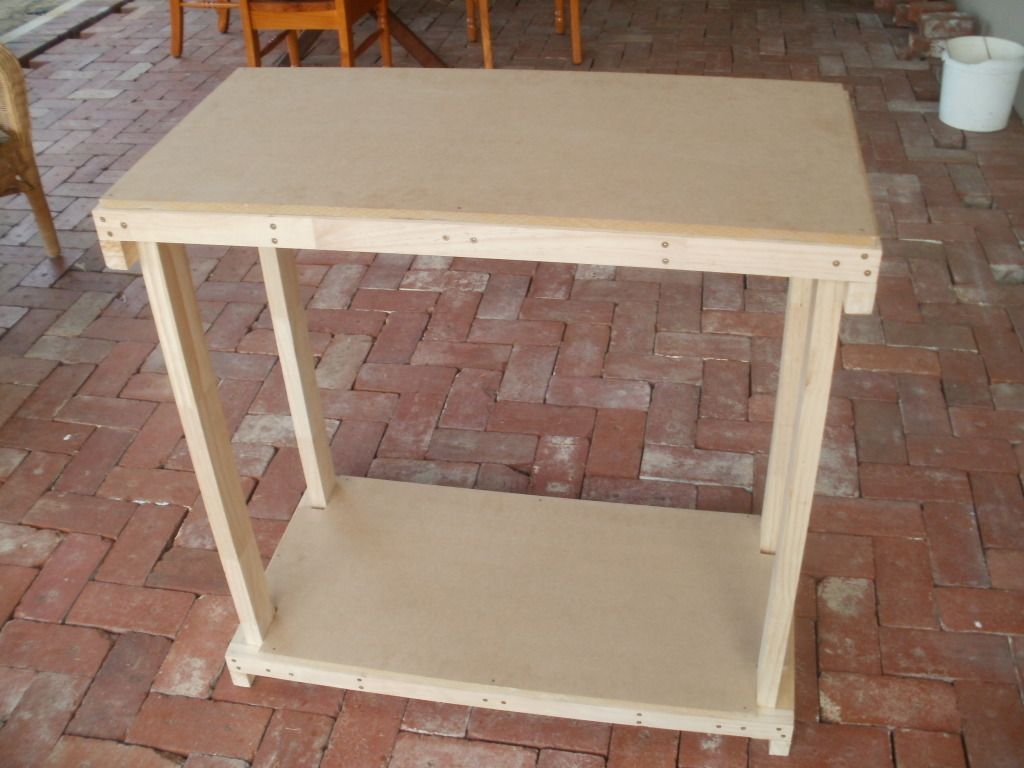
New tank 90 x 45 x 45 (50gallon) biggest tank i have

P7070088.jpg


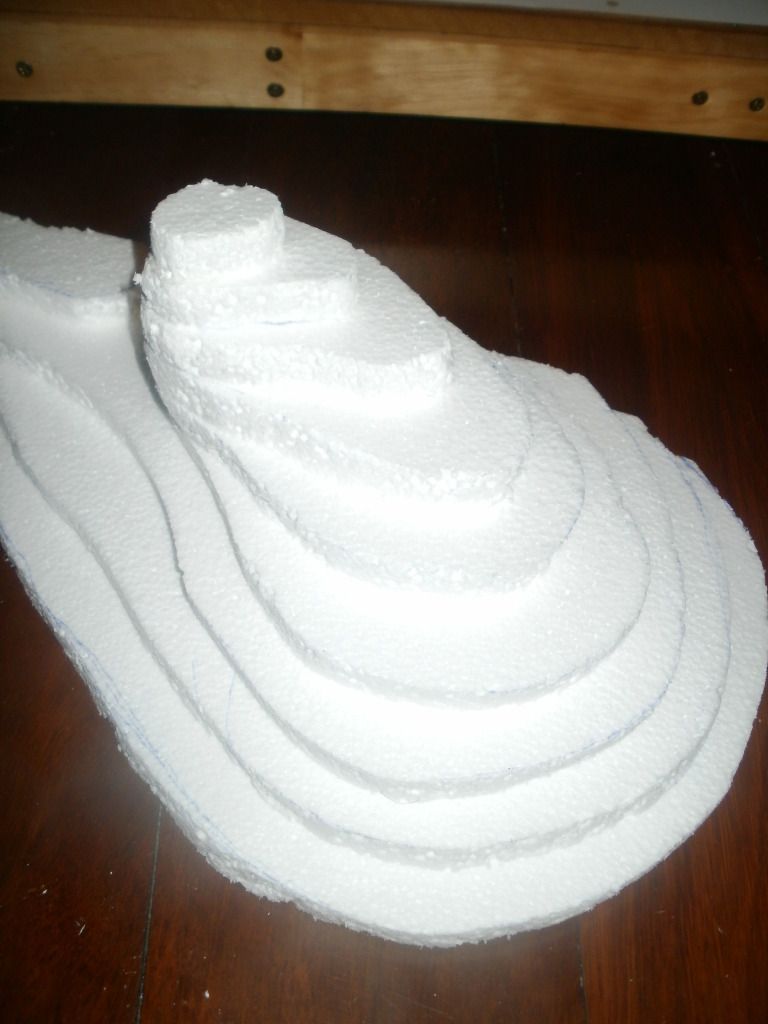
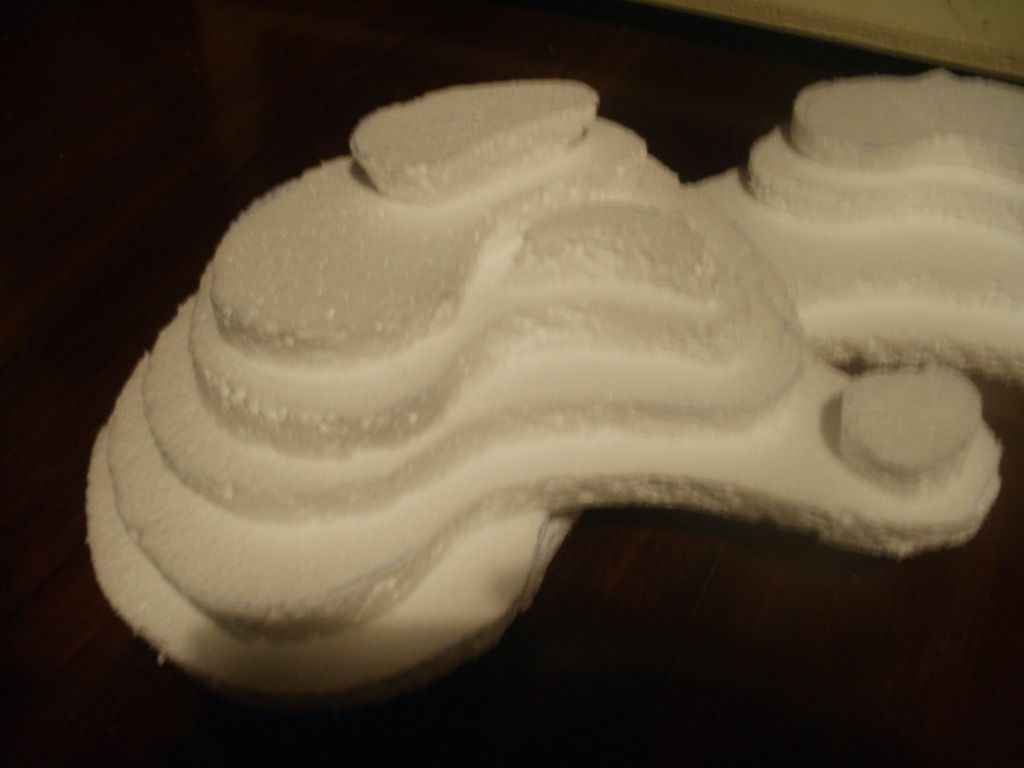
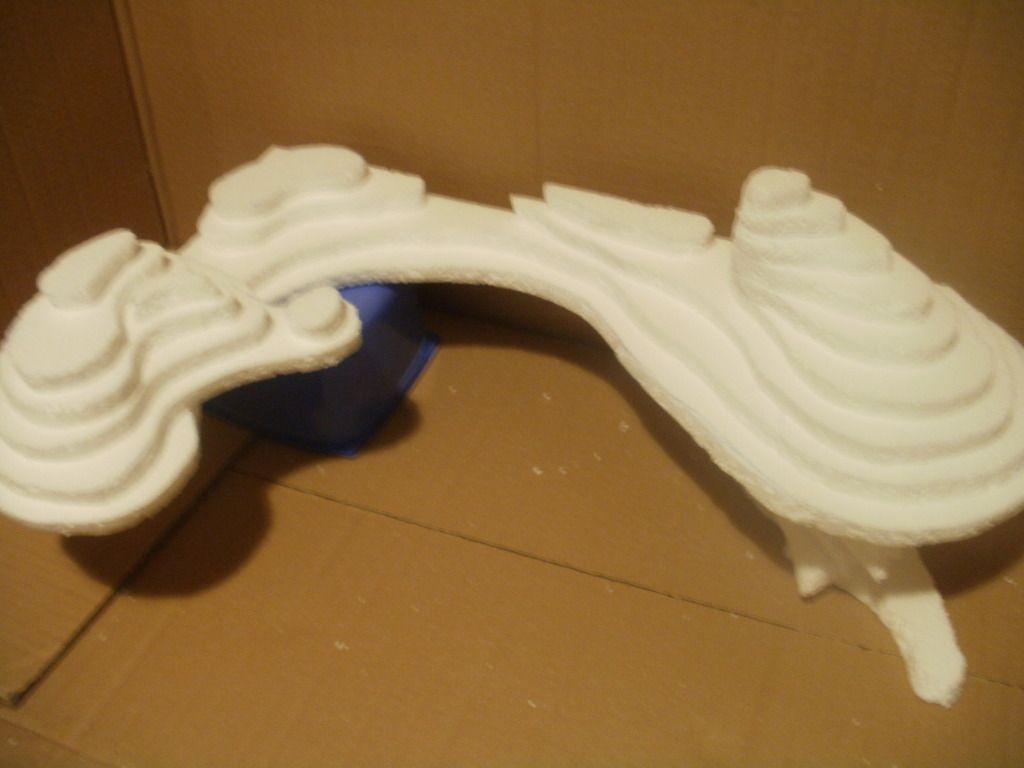
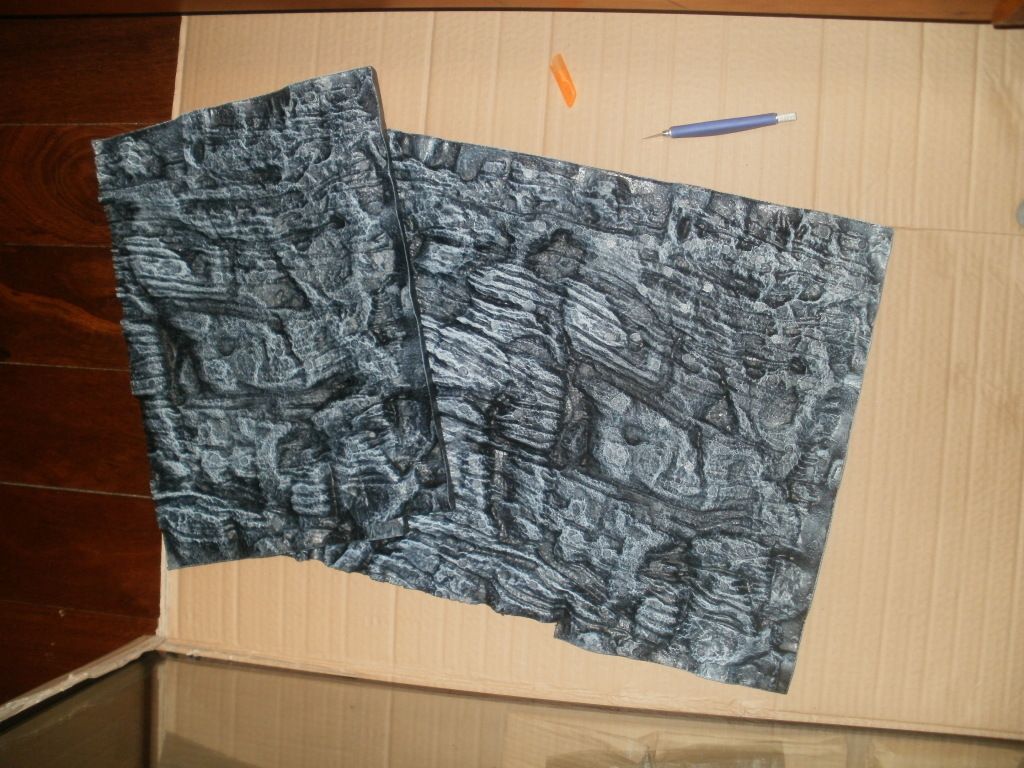
Cutting the background to fit
P7070089.jpg


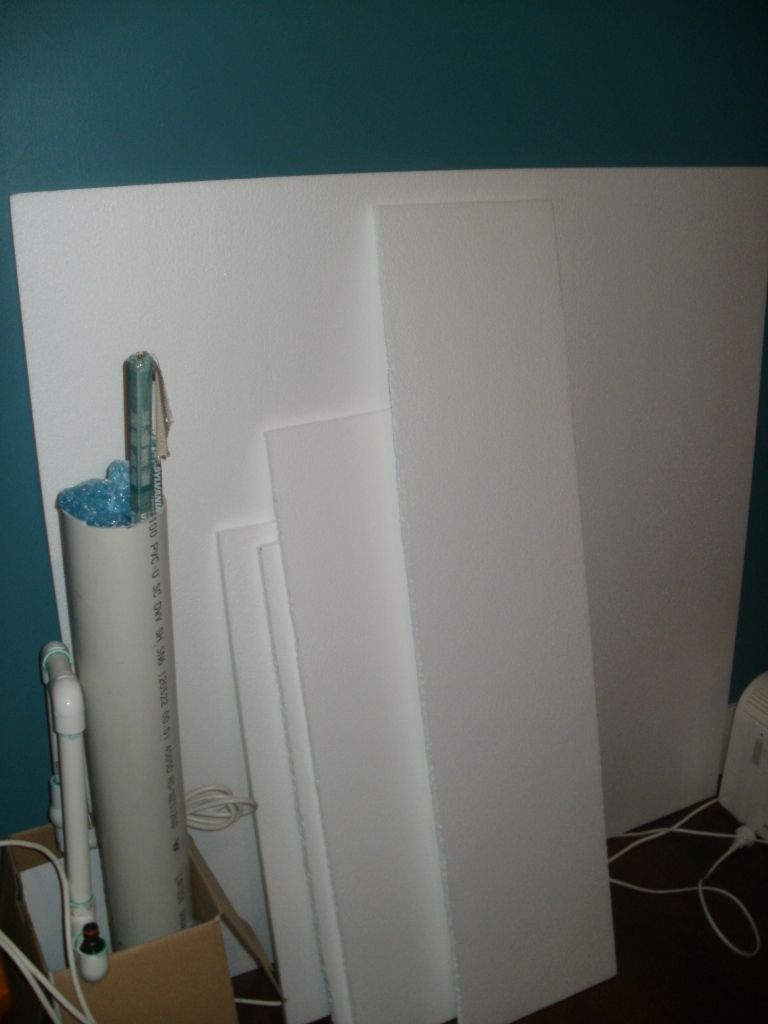
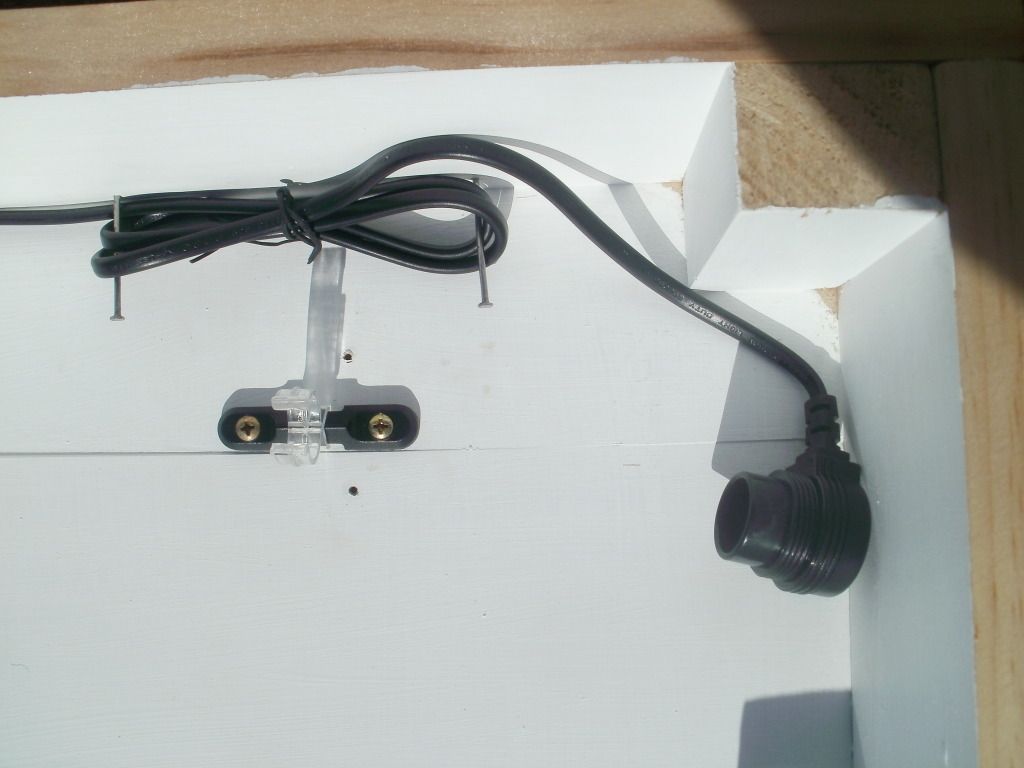
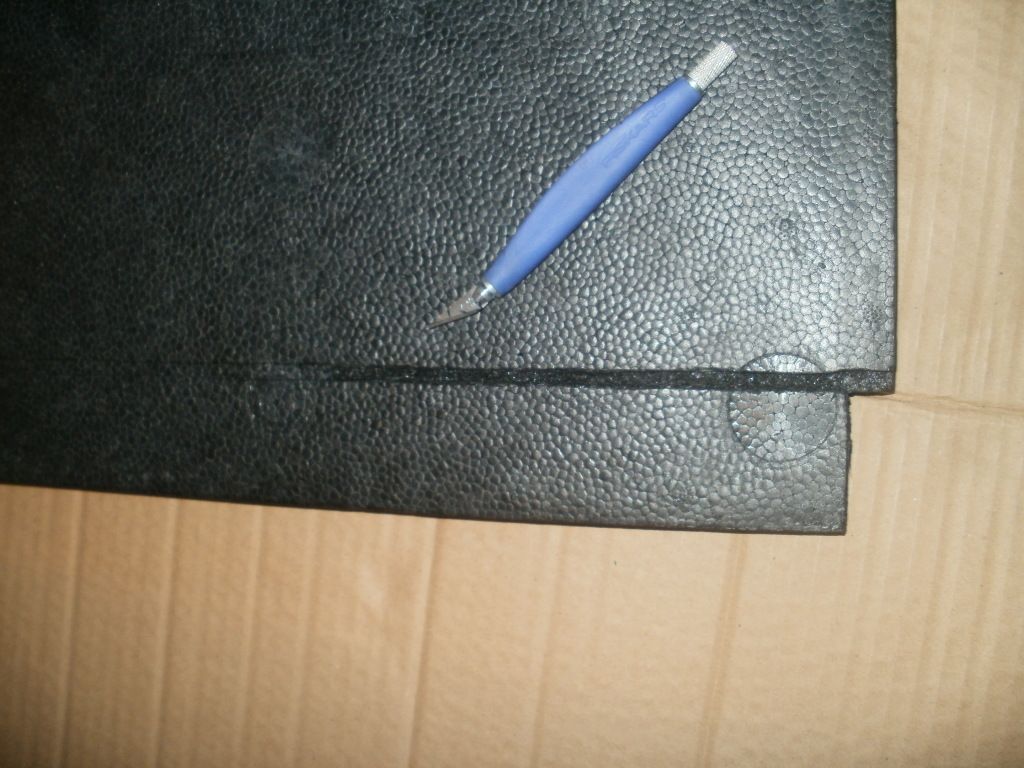
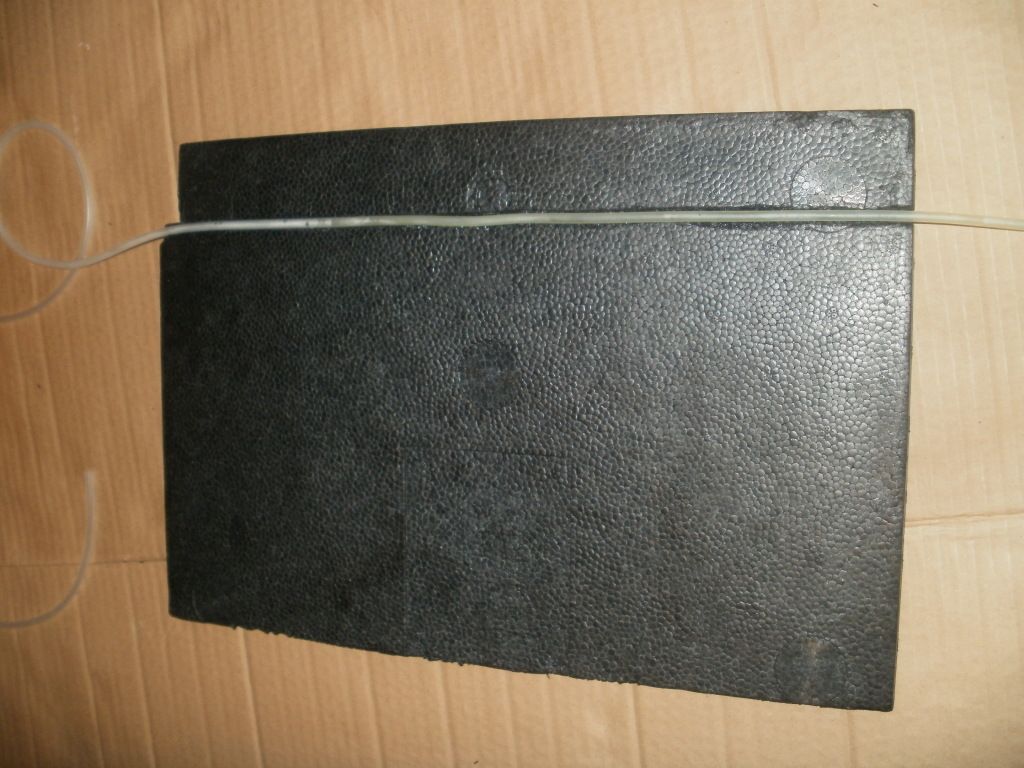
Didn't want my airline to be floating around in the tank so i cut a V shaped groove and then placed the line in as well as silicone over the top
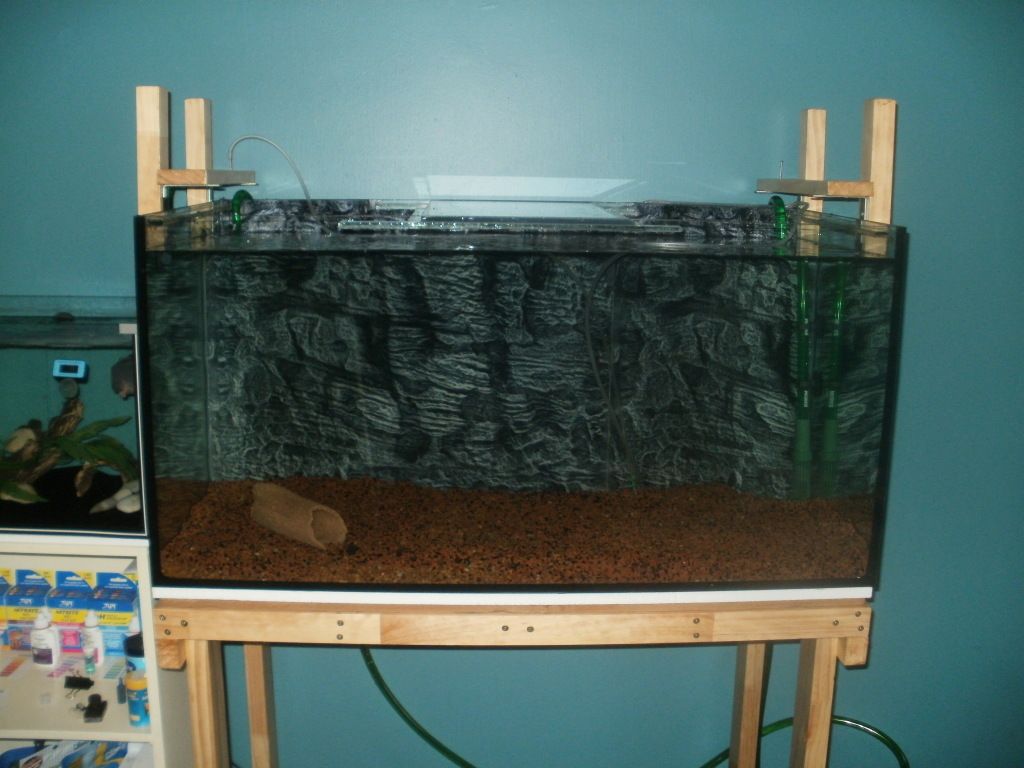
P7070090.jpg


P7070091.jpg


sealed at the top
P7070096.jpg


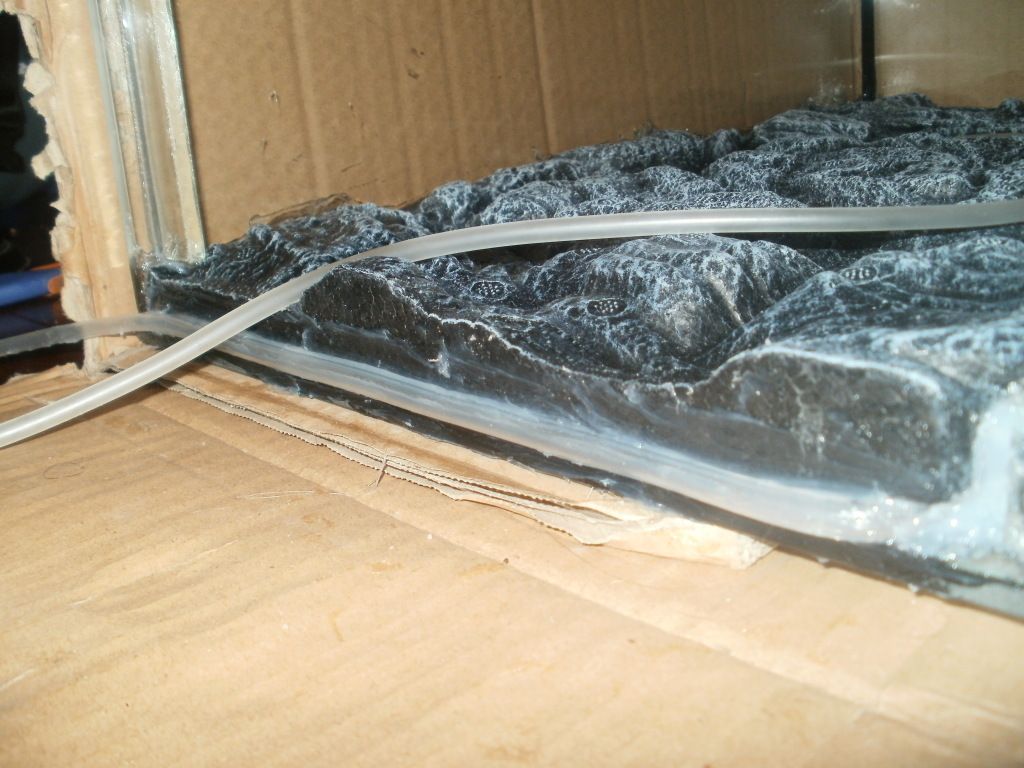
It took me two tubes to seal it and alot of mess
P7070095.jpg
 
Can't edit my original post but i have decided that i will be buying another tank for the bottom tier of the stand i'm making and i plan to do a DIY background for that tank as it will be for my axolotls. All of this will be in my thread over time

Got the materials for my stand
P7140104.jpg


Hand sawing everything YEAHHHHH
P7150109.jpg


P7150110.jpg


Top and bottom shelves ready to go, was going to use the same sized wood for the legs but decided i would get thicker pieces for extra support, should be finished by the end of this weekend

P7150111.jpg
 
Last edited:
Got the legs cut and in place

P7210012.jpg


Bottom supports for tank

P7220014.jpg


All finished! Pretty happy with how it turned out and how much money i saved on it, will give it a few coats of varnish. now on to making the hoods for the two tanks

P7220016.jpg
 
Wood for 3 light hoods, all up cost me $50 and considering the amount lighting units are i saved a heap

P7280020.jpg


ends and making frames

P7280021.jpg


P7280022.jpg


P7280023.jpg


Don't have a photo of the finished hoods but you can tell what they look like, all I'm waiting on is the DIY lighting kits to come and then install them

In the mean time adding stand for the top light hood

P7280024.jpg


And finished :happy: did two coats of clear varnish over the weekend juts letting it dry and will be ready to go soon, did a final seal of the tank background so will be cycling by the end of the week.

Really happy with how its turned out some cuts are a bit off but all in all it does the job

P7280025.jpg


Also got a custom built tank coming to fit the bottom shelving
 
That's amazing. I wish I had the construction/woodworking know how to build my own stands/shelves and tanks. *sigh* Maybe one day...
 
Thanks. It honestly wasn't that hard to do, just took a bit of time, just look at plans of other stands and go from there. Just remember to brace it well as the tank + water is pretty heavy
 
Holy cow! It's obvious you put a lot of time and effort into this. It looks great!
 
looking good can't wait till its finished.:D i might do something like this when i'm older. anywhy hope it turns out well for you.:D
 
Thanks guys, yeah has taken a lot of time and effort but i would highly recommend it.

The reward (empty)
P8040027.jpg


full and is now cycling, mix of normal gravel substrate and eco-complete plant substrate (for community tank)
P8050029.jpg


My axie tank is currently on order, have to get it custom built so i started on the back ground/ hides for it

Got a heap of foam 1.5cm thick x 2.4 x 2.4 m only $15
P8030026.jpg


Wasn't sure how it would turn out but very happy with how it went. Cut the shapes i wanted, sanded the edges to be smooth and are glued together with normal hot glue. Pics are blurry but was pretty hard to get a good shot

P8060040.jpg


P8060042.jpg


The ledge sitting at the height i want it, now to start on the pillars
P8060046.jpg
 
I wish I had the time to do DIY stuff for my tank. It's so boring with what's in there and ornaments, backgrounds etc are so expensive to buy!

I can't wait to see the outcome of yours :D
 
Got my light kits so i finished them off this weekend.

Holes for the cabling
P8180051.jpg


Painted the inside white to reflect light back into the tank, did two coats.

The cabling is very easy to set up and install i just used nails to hold it in place and every thing comes in the kit
P8180053.jpg


P8180054.jpg


Lights in
P8190055.jpg


Installed, very happy with how it turned the lights have a purple/pink hue but it works well and they are pretty bright
P8200061.jpg


P8190060.jpg


I would recommend making your own hoods and use the DIY lighting kit was fairly straight forward and i saved a considerable amount of money
 
Would love to see some more pics of your Axie tank and decor as they come along, Love the idea of foam and hot glue, gave me endless number of ideas. :D
 
Wow looking at that first pic of the tank set up, the moss has really taken off and is thriving atm.

Sorry no updates until next year, decided to hold off as I'm going overseas for an extended period of time. Will complete the build when i get back, the axie background is coming along well but.
 
General chit-chat
Help Users
  • No one is chatting at the moment.
    There are no messages in the chat. Be the first one to say Hi!
    Back
    Top