Paludarium project

Jausi

New member
Joined
Feb 7, 2008
Messages
48
Reaction score
0
Points
0
Location
Madison,WI-usa
Country
Bolivia
Display Name
Jausi
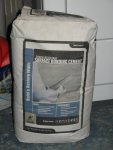
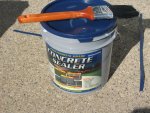
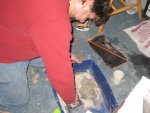
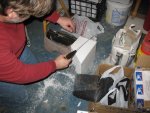
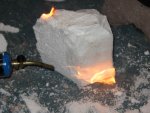
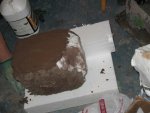
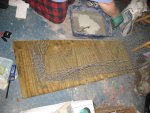
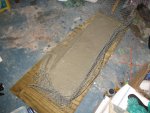
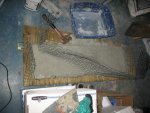
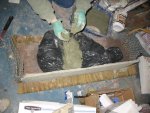
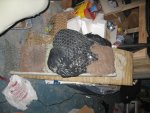
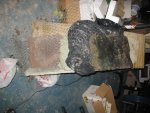
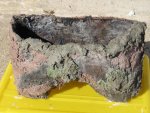
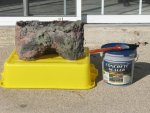
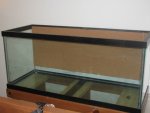
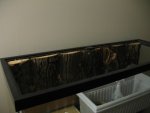
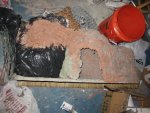
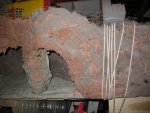
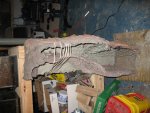
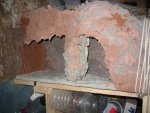
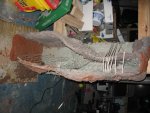
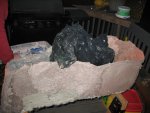
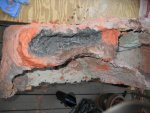
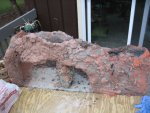
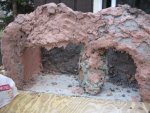
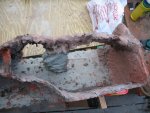
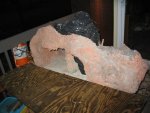
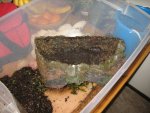
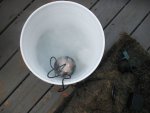
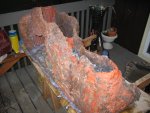
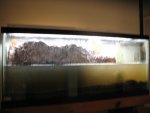
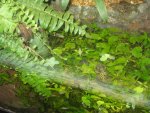
Hello guys this is an update of how ism y proyect doing, I made the misteake of use corkboard instead of real cork and after a week being soak in water it finally came off, I'm using concret for the structure, I already builded the small structures wich I seal with concret sealant to stop the leaching of calcium I also mix the concret with concret aditive (supposed to help to stop the leaching of calcium), I'll do water changes weekly, I also add fish to have ready for plants, here are some pics, enjoy and pls let me know your thoughs.

Does any one know where can I get a fog machine, or how to build one from a Humidifier?
 

Attachments

  • Surface cement.JPG
    Surface cement.JPG
    152.8 KB · Views: 1,174
  • Concrete Sealer from best sealer.JPG
    Concrete Sealer from best sealer.JPG
    234.5 KB · Views: 1,937
  • Styrofoam.JPG
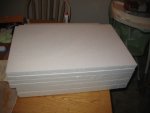
    Styrofoam.JPG
    137.4 KB · Views: 1,128
  • e) Glue together.JPG
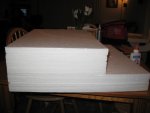
    e) Glue together.JPG
    127.1 KB · Views: 894
  • f) Building the first structure.JPG
    f) Building the first structure.JPG
    199.6 KB · Views: 985
  • i) Building the second structure.JPG
    i) Building the second structure.JPG
    214.7 KB · Views: 1,042
  • k) Building the second strcuture.JPG
    k) Building the second strcuture.JPG
    161.1 KB · Views: 3,851
  • m) Building the second strcuture.JPG
    m) Building the second strcuture.JPG
    171.6 KB · Views: 3,595
more pic the guy above is a friend who's helping me
 

Attachments

  • n) Building the main structure.JPG
    n) Building the main structure.JPG
    233.7 KB · Views: 1,035
  • p) Building the main structure.JPG
    p) Building the main structure.JPG
    221.5 KB · Views: 957
  • r) Building the main structure.JPG
    r) Building the main structure.JPG
    208.6 KB · Views: 981
  • s) Building the main structure.JPG
    s) Building the main structure.JPG
    221.4 KB · Views: 1,027
  • x) Building the main structure.JPG
    x) Building the main structure.JPG
    200.2 KB · Views: 1,009
  • y) Building the main structure.JPG
    y) Building the main structure.JPG
    217.7 KB · Views: 917
  • z-3) First coat.JPG
    z-3) First coat.JPG
    225.1 KB · Views: 1,171
  • z-5) Drying.JPG
    z-5) Drying.JPG
    204.3 KB · Views: 1,092
more pics!!!, sorry guys I cloudn't up load more pic's the system wouldn't let me
 

Attachments

  • Cleaning tank 1.jpg
    Cleaning tank 1.jpg
    122.7 KB · Views: 946
  • Fire wood all glue.jpg
    Fire wood all glue.jpg
    137.8 KB · Views: 1,569
Looks cool, what sort of structure are you making?
 
Thank's!!!

I building a structure to hold plants will also have a water fall, it will be for fire belly toads, we're in the last steps to finish it , will up loan more pic when we're done :D
 
more pics ofthe main structure :D, hope you guys like the pics
 

Attachments

  • z-6) Under water cave.JPG
    z-6) Under water cave.JPG
    227.7 KB · Views: 948
  • z-9) Under water cave diff view.JPG
    z-9) Under water cave diff view.JPG
    196.7 KB · Views: 916
  • z-8) Building the other wall.JPG
    z-8) Building the other wall.JPG
    208.5 KB · Views: 1,024
  • z-11) Adding different colors.JPG
    z-11) Adding different colors.JPG
    198 KB · Views: 4,427
  • z-12) Letting concret dry.JPG
    z-12) Letting concret dry.JPG
    194.8 KB · Views: 1,171
Hi

I just noticed this thread is yours. That does look nice. I was wondering though why you are using concrete. It is a lot of work & will add enormous weight to your tank. I am not sure what is available where you are but here you can get expanding foam that works amazingly for these kind of setups. It is strong & extremely lightweight. It is what I used to create my background on which I mounted mu wood peices. It is also easy to just put silicone on it & add a layer of coco fibre and you got yourself a natural background on which you can plant moss, ferns, etc. I hope this helps & if you need anything let me know.

GOOD LUCK !!!;)
 
Hello and thanks for the advise, I the biggining I thought to use the great stuff (expanding foam), but I was told it was a little messe to work with, so I desided to use concret, as you mention my main concern is the weight of the structure, and since the main structure is almost done it seem that the tank wont break, but I might have to find some help to put it inside of the 285 liter tank (75 gallon) and the fill the tank with water.:eek:

I'll will post more pic to show you how I deal with this, wish me luck everybody!!!!:D
 
Learning process.

Good luck & if you have any questions feel free to ask.:uhoh:
 
Helos guys her are more pics fropm the main structure, wich is almost done, lasting to do is the land area :blob:

wish me luck

next step getting the structure into the tank :eek:
 

Attachments

  • z-14) Gettin ready to build a small creek.JPG
    z-14) Gettin ready to build a small creek.JPG
    165.5 KB · Views: 1,261
  • z-15) Small creek ready.JPG
    z-15) Small creek ready.JPG
    199 KB · Views: 843
  • z-16) Another view of the structure.JPG
    z-16) Another view of the structure.JPG
    207.8 KB · Views: 751
  • z-17) Under water cave.JPG
    z-17) Under water cave.JPG
    231.8 KB · Views: 799
  • z-18)  Setting the land area.JPG
    z-18) Setting the land area.JPG
    206.2 KB · Views: 724
  • z-13) Almost done.JPG
    z-13) Almost done.JPG
    182.7 KB · Views: 761
hahaha

hello well the tank wont be full with water just half tank, and before I place the structure I will seal the concret with a few coats of concret sealent to control the leaching of calcium, as right now the tank has two other structures wich I already sealed, I also add fish (mollys, platys and guppies) the're doing fine infact they started breeding (specially guppies :D)
 
I was thinking to add fire belly toads to the paludarium, can any one give me some other options that might live well in my paludarium?
 
Can you post some pictures of the completed stucture? I love lookig at pictures!:D
 
Re: Paludarium proyect

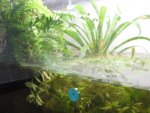
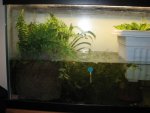
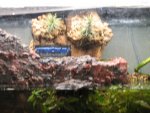
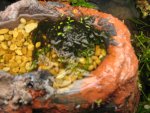
Hello Guys just an update of my proyect, last week I bought the fogger from a pond store, I tested in th tank and is looking good, Since the weater is been kind this couple days I'm been able to seal the main structure, today I planted the first bromeliad in one of the other structures and another fern in the other structure, here some pic, how is looking wright now, the water got a little messi and cloudy, question I'm planing to buy some FBT this weekend, the tank already have guppies, platys and mollies, all of the are breeding and I was hoping to use them as source of food for my toads, the temperature for the water is 80F, what do you guys think??, any advise or comments wiil be really apreciated
 

Attachments

  • IMG_3084.JPG
    IMG_3084.JPG
    167.2 KB · Views: 1,074
  • IMG_3081.JPG
    IMG_3081.JPG
    214.2 KB · Views: 976
  • IMG_3083.JPG
    IMG_3083.JPG
    151.5 KB · Views: 1,160
Re: Paludarium proyect

more pics too bad the system wont let my upload pic from the fish and fry
 

Attachments

  • IMG_3075.JPG
    IMG_3075.JPG
    139.8 KB · Views: 653
  • IMG_3063.JPG
    IMG_3063.JPG
    207.2 KB · Views: 739
Re: Paludarium proyect

Hello guys!!!!,

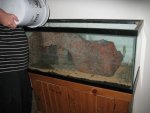
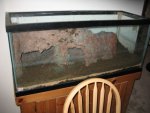
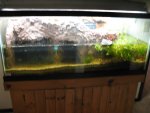
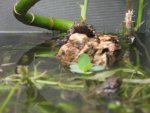
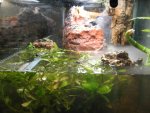
FINALLY the main structure is in the tank, too bad it was too big and I run out of space for the other two structures, here are some pics fromt the tank and the toads.

I hope you guys like it (only thing missing is to add plants and cork in the back wall)
 

Attachments

  • IMG_3131.JPG
    IMG_3131.JPG
    152.7 KB · Views: 980
  • IMG_3133.JPG
    IMG_3133.JPG
    146.7 KB · Views: 930
  • IMG_3134.JPG
    IMG_3134.JPG
    117.1 KB · Views: 851
  • IMG_3143.JPG
    IMG_3143.JPG
    155 KB · Views: 1,418
  • IMG_3146.JPG
    IMG_3146.JPG
    171.3 KB · Views: 994
  • IMG_3145.JPG
    IMG_3145.JPG
    187.7 KB · Views: 978
  • IMG_3127.JPG
    IMG_3127.JPG
    99.8 KB · Views: 805
  • IMG_3137.JPG
    IMG_3137.JPG
    149.7 KB · Views: 905
Re: Paludarium proyect

More pictures enjoy
 

Attachments

  • IMG_3138.JPG
    IMG_3138.JPG
    115.2 KB · Views: 748
  • IMG_3142.JPG
    IMG_3142.JPG
    207.8 KB · Views: 1,194
  • IMG_3141.JPG
    IMG_3141.JPG
    122.5 KB · Views: 732
  • IMG_3123.JPG
    IMG_3123.JPG
    255.6 KB · Views: 921
  • IMG_3115.JPG
    IMG_3115.JPG
    148.3 KB · Views: 904
I like it. What species do you have in there? Are you sure thier compatable?
 
General chit-chat
Help Users
  • No one is chatting at the moment.
  • rreu:
    z
    +1
    Unlike
  • Dnurnberg:
    Hello. I just noticed two notches, white small bubbles on the hind legs of one of my male newts.
    +2
    Unlike
  • Dnurnberg:
    I'm trying to put the l
    +1
    Unlike
  • FragileCorpse:
    Hey everyone, just want a little advice. Its 55 - 60 celcius in my Salamanders tank. Hes curled up and tyring ti bury himself, Im assuming hes too cold. I was wondering if he would benefit from a heated rock cave (since he LOVES his cave) that I could set on low? I NEVER see him curled up and trying to bury himself unless his tank sits at 63 degrees celcius or lower. So I am assuming hes a little uncomfortable.
    +1
    Unlike
  • FragileCorpse:
    He also seems a little sluggish, again, assuming hes cold. Having heating trouble with the new house right now. What do we think? Was thinking of grabbing this for him since its got very low, medium, and higher medium heat settings that exude heat downward inside the rock cave but ALSO exudes it UPWARDS outside of the rock cave, effectively keeping the tank itself a little warm. Seems like it miiiight be a little small for him though, my guy is about 7 inches from tip of his nose tothe tip of his tail. What do we think? https://www.amazon.com/Reptile-Simulation-Adjustable-Temperature-Tortoise/dp/B0CH1DPGBC
    +1
    Unlike
  • FragileCorpse:
    I also asked this as an actual question in a thread in case anyone wants to answer it there instead of here
    +1
    Unlike
    FragileCorpse: I also asked this as an actual question in a thread in case anyone wants to answer it there... +1
    Back
    Top